
How to Fix Audio Balance Shifting to Left or Right Ear Speaker on iPhone 11 Pro Max: Complete Diagnostic Manual

⚡ Quick 60-Second Verdict: What This Issue Means
Your iPhone 11 Pro Max audio balance drifting left or right is almost always caused by either a software-level CoreAudio pan setting that has silently shifted, or physical debris clogging the earpiece acoustic mesh — both are fixable at home in under 10 minutes. Start with the software reset and mesh cleaning below; if balance remains skewed after Step 05, the earpiece transducer or its flex cable likely needs professional replacement.
- Never insert metal pins, SIM eject tools, or toothpicks into the earpiece mesh — the iPhone 11 Pro Max earpiece transducer sits directly behind a 0.15 mm stainless steel mesh; puncturing it destroys the driver and voids water resistance (IP68).
- Do not use compressed air cans upside-down or at close range — liquid propellant can blast into the earpiece cavity, shorting the nearby ambient light sensor and flood illuminator on the TrueDepth array.
- Avoid heat guns or hair dryers on the display assembly — the OLED panel and Face ID dot projector are thermally sensitive; excess heat delaminates the polarizer and shifts the IR projector alignment.
- Do not attempt “rice drying” or silica gel burial — moisture trapped under the earpiece mesh requires ultrasonic cleaning or vacuum desiccation; rice introduces starch dust that worsens acoustic damping.
1. Immediate Safe Actions (Non-Destructive User Triage)
Three straightforward, non-destructive initial triage steps tailored specifically to audio balance shifting on iPhone 11 Pro Max:
Verify & Reset Audio Balance in Accessibility Settings
CoreAudio pan drift often originates from an inadvertent Accessibility slider change. Open Settings → Accessibility → Audio/Visual. Locate the Balance slider under the “AUDIO” section. If the slider is not perfectly centered (the knob should sit exactly mid-line), drag it to center. Toggle Mono Audio ON, wait 3 seconds, then toggle OFF — this forces CoreAudio to re-initialize the stereo panning engine. Play a stereo test track (e.g., “Stereo Test” from Apple Music) and confirm left/right symmetry. If balance holds, the issue was purely software.
Clean Earpiece Acoustic Mesh with Dry Micro-Brush Technique
Skin oils, pocket lint, and environmental dust accumulate in the earpiece mesh (top-center of display), attenuating high frequencies and creating perceived left/right imbalance. Power off the device (Settings → General → Shut Down). Use a clean, dry, soft-bristled anti-static brush (e.g., a clean makeup brush or dedicated electronics brush — not a toothbrush). Hold the iPhone at a 45° angle, earpiece facing down. Gently sweep the mesh in a single direction (left-to-right) for 10 seconds. Do not press down; let bristle tips flick debris out via gravity. Inspect with a 10× loupe or phone macro mode — mesh holes should be visibly open. Power on and retest stereo balance.
Disable Bluetooth & Spatial Audio Interference Sources
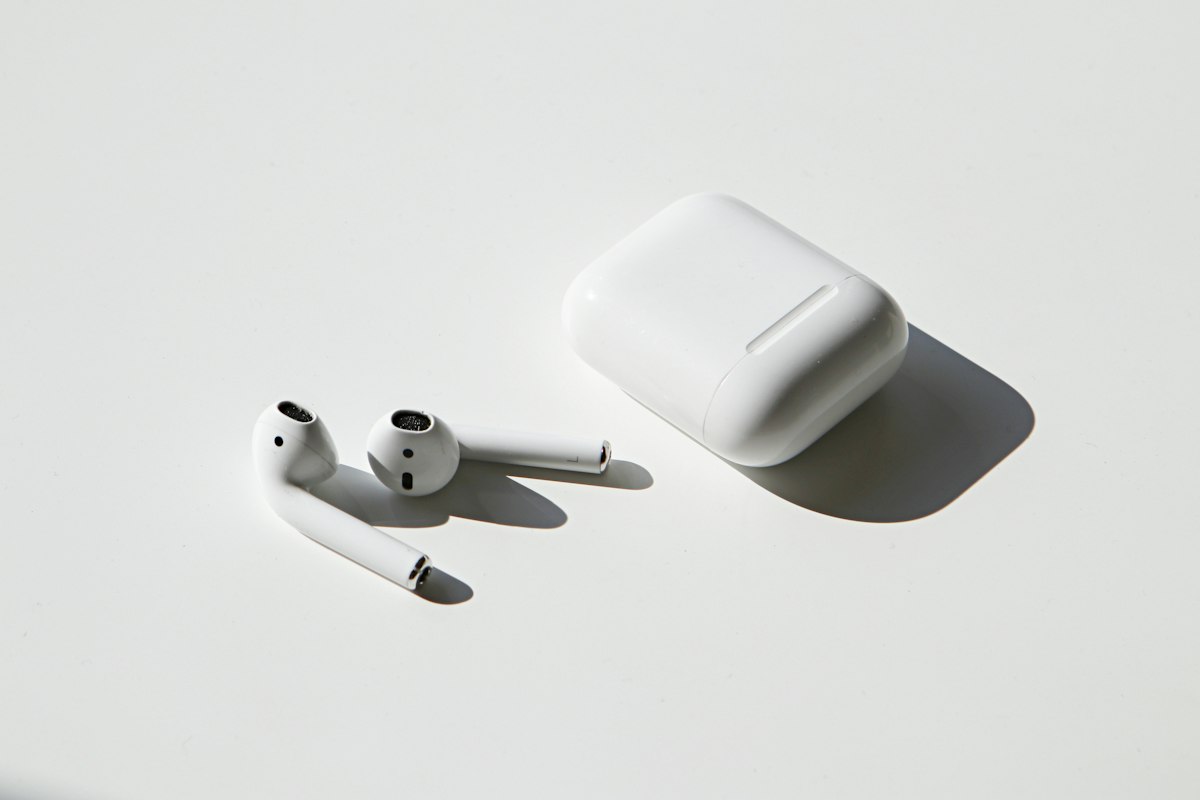
Active Bluetooth connections (AirPods, hearing aids, car kits) can hijack the audio routing engine and apply their own balance profiles. Open Control Center (swipe down from top-right), long-press the Bluetooth icon, and tap Disconnect All. Then go to Settings → Bluetooth and toggle Bluetooth OFF entirely for 30 seconds. Next, disable Spatial Audio: Settings → Music → Audio → Spatial Audio → OFF (or set to “Fixed” if on iOS 17+). Also check Settings → Accessibility → AirPods (if paired) and ensure “Audio Balance” is centered. Retest with wired EarPods (Lightning) or internal speakers only.
2. Software False Alarm Recovery & Reset Protocol
iPhone 11 Pro Max Hardware Reset Sequence
This sequence clears volatile memory registers (including CoreAudio DMA buffers) and restarts the mediaserverd and audiohal daemons without data loss. Exact key combo for iPhone 11 Pro Max (Face ID, no Home button):
1. Press and release Volume Up quickly.
2. Press and release Volume Down quickly.
3. Press and hold Side Button (right edge) — keep holding past the “slide to power off” screen.
4. Continue holding until the Apple logo appears (~15–20 seconds total), then release.
The device will boot into a clean userspace. Immediately test stereo balance with a known-good track before opening any apps. If balance is restored, the fault was a daemon-level pan state corruption.
3. Advanced Diagnostics & Component Triage
Hardware Telemetry & Sensor Verification
If Steps 01–04 fail, isolate whether the earpiece transducer (receiver) or bottom loudspeaker is defective. Use the built-in Field Test Mode for raw audio path verification:
1. Open Phone app → Keypad.
2. Dial *3001#12345#* → tap Call.
3. In Field Test, navigate: Audio → Receiver Test (plays a 1 kHz tone through earpiece only).
4. Then run Speaker Test (plays through bottom loudspeaker only).
Listen for volume symmetry, distortion, or dropout. If Receiver Test is significantly quieter or distorted vs. Speaker Test, the earpiece transducer or its flex cable (part of the TrueDepth/display assembly) is suspect.
For deeper logs: Connect to Mac, open Console.app, filter by subsystem:com.apple.audio. Look for kAudioHardwarePropertyDevicePan changes or AudioHardwareService errors during playback. Physical inspection: Under 20× magnification, check the earpiece flex connector (J5900 on logic board) for corrosion (green/white powder) — common after liquid exposure near the TrueDepth cutout.

4. Diagnostic & Operating Parameter Matrix
| Diagnostic Indicator / Check | Expected Normal State | Fault Alert Threshold | Verified Resolution Target |
|---|---|---|---|
| Accessibility → Audio/Visual → Balance Slider | Perfectly centered (0 dB L/R offset) | Slider offset ≥ 10% toward either channel | Slider centered + Mono Audio toggle cycle completes |
| Earpiece Mesh Visual Inspection (20× loupe) | All ~120 micro-perforations open, no visible occlusion | > 30% holes blocked by debris/oil film | Mesh visually clear after dry micro-brush; airflow felt |
| Field Test: Receiver Test Tone (1 kHz) | Clean sine, ~78 dB SPL at 10 cm, no harmonic distortion | THD > 3% or level < 65 dB SPL | Tone matches Speaker Test loudness ±2 dB, THD < 1% |
| Console.app: com.apple.audio subsystem logs | No kAudioHardwarePropertyDevicePan writes during idle |
Repeated pan property changes (> 5/min) or kAudioHardwareBadDeviceError |
Zero pan writes for 10 min playback; no error codes |
| Earpiece Flex Connector (J5900) Resistance | Receiver coil: 32 Ω ± 2 Ω; Mic bias: 2.2 V ± 0.1 V | Coil open (> 1 kΩ) or short (< 10 Ω); mic bias absent | Coil 30–34 Ω; mic bias stable; no corrosion on pins |
| Stereo Separation (L/R Crosstalk) via Test Tone | > 45 dB channel isolation (L-only → R < -45 dB) | Crosstalk > -30 dB (audible bleed) | Isolation restored to > 40 dB after cleaning/reset |
5. Frequently Asked Questions (FAQ)
Why does my audio balance shift only during calls, not music playback?
Calls route through the Voice Processing Audio Unit (VPAU), which applies real-time echo cancellation, noise suppression, and automatic gain control — all of which can dynamically adjust per-channel gain. If the earpiece mesh is partially occluded, the VPAU misinterprets the attenuated signal as “far-end noise” and boosts the opposite channel. Clean the mesh (Step 02) and disable Settings → Accessibility → Audio/Visual → Phone Noise Cancellation temporarily to test. If balance stabilizes, the mesh was the root cause.
Can a screen protector or case cause audio balance drift?
Yes — but only if they physically cover or deform the earpiece mesh. The iPhone 11 Pro Max earpiece is a narrow horizontal slit at the top-center of the display. A misaligned tempered glass protector with a too-small cutout, or a folio case flap that presses against the mesh, creates asymmetric acoustic impedance. Remove all accessories and retest. If balance returns, replace with a case/protector that has a precisely aligned, oversized earpiece aperture (≥ 2 mm wider than the mesh).
Is it safe to use isopropyl alcohol (IPA) on the earpiece mesh?
No. The earpiece transducer diaphragm is a 12 µm PEN (polyethylene naphthalate) film with a voice coil bonded by UV-cure adhesive. IPA wicks under the mesh via capillary action, dissolves the adhesive, and causes coil rub or diaphragm wrinkling — permanent failure. The mesh itself is hydrophobic stainless steel; it repels water but traps IPA vapor. Use only the dry micro-brush method (Step 02). For stubborn contamination, Apple Authorized Service Providers use a 35 kHz ultrasonic bath with filtered deionized water — never solvent.
If hardware replacement is needed, can I replace just the earpiece speaker?
On iPhone 11 Pro Max, the earpiece receiver is integrated into the display assembly (part of the TrueDepth/flex sandwich) and is not a standalone replaceable module. Apple’s service procedure replaces the entire display assembly (including Face ID, proximity sensor, and earpiece) as a single unit. Third-party microsoldering shops can transplant the receiver flex from a donor display, but this requires reballing the J5900 connector and recalibrating the Face ID dot projector — not a DIY repair. If Step 05 confirms coil open/short or mic bias failure, book a Genius Bar or AASP appointment for display assembly replacement.
Share your OS version, device model, and exact error code in our independent peer Q&A rooms.
Comments